The best part has finally arrived! You have patiently waited a week to 10 days and now you're ready to bottle your Kombucha and enjoy all of it's unique deliciousness. Hooray!
Bottling Process Step 1:
Remove the paper towel lid from your fully fermented Kombucha. Notice that the entire batch will appear to be a lighter color than it did about a week earlier, there may also be some foamy bubbles around the Scoby Mushroom, and most likely another 'Scoby Baby' will be forming somewhere on top of or around the 'Mother' mushroom. Remove the Scoby and it's baby from the finished tea and with hands that have been cleaned with distilled vinegar, either leave them attached or carefully pull them apart.
At this point you have a choice, you can either put one or both of the Scoby's in a new prepared sugar tea batch, store them in a Scoby Hotel for later (More on this in part 4), share with a friend who wants to join the Kombucha making fun, use them as a mildly acidic face mask and/or hand mask, add to your fertilizer or compost, or some folks even use their Scoby mushrooms in homemade sushi! Use your imagination.
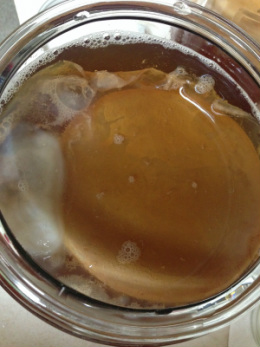 Can you see the little white 'Scoby Baby' growing on the left side of the 'Mommy Scoby'? I don't know why, but I still get excited to see this happen every time. | 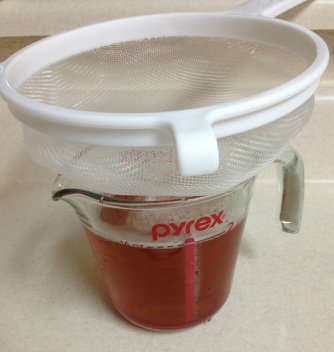 Straining your fully fermented Kombucha Tea will cut down on the 'floaties' in your flavored and finished bottles of Kombucha. |
Once the Scoby's are removed from the finished, fermented tea, strain the Kombucha with a non-metal strainer and add to glass bottles with tight fitting, non-metal lids. The reason that the bottles should have non-metal lids is because the metal will cause the Kombucha to take on a metallic-like taste. The reason the lids should be tight fitting is too keep the Kombucha from going flat. Think of Kombucha as being like a healthy soda, don't shake it and keep the lid tight for best results. In addition, give your bottles at least an inch or more of head room for Kombucha carbonation and also try to pour the Kombucha into the bottles at an angle down the side, as though you were pouring beer from a tap into a glass.
 Mashed up fresh fruit will work for flavoring as well, I was just being lazy this day. | 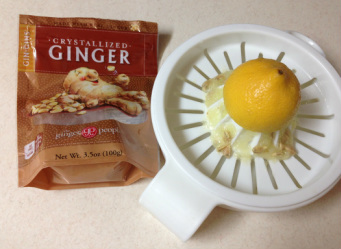 If Mylar Lemons are in season snag these, they are by far the sweetest, most flavorful type of lemon out there. I used to live at a house with a Mylar lemon tree in the back yard and I sincerely miss it every day. |
Step 2 To Flavor or Not To Flavor:
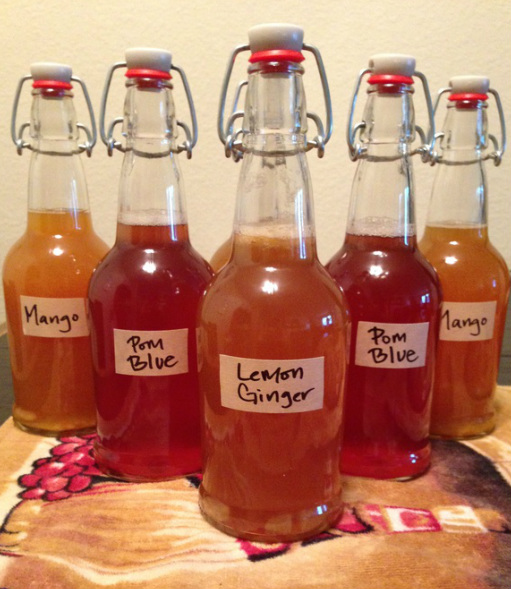
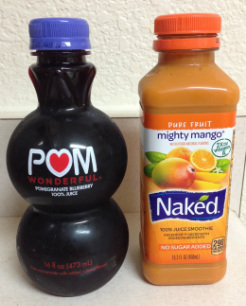
If you choose to enjoy your Kombucha without adding any additional flavor to it, skip this step and go directly to Step 3 of this post. Plain Kombucha is delicious in it's own right. This time I chose to use my 3 favorite flavors and those are Pomegranate Blueberry, Mango and Lemon Ginger. The sky is the limit as far as flavoring goes, you can add any tastes you like, even herbs, spices and super foods like Spirulina are fair game, so go to town. The only hard and fast rule is to add 10 to 20% flavoring to whatever sized bottle you are using. Too much flavoring will take away from the classic, pure Kombucha goodness.
To flavor your Kombucha, fill the bottoms of the bottles with 10 to 20% flavoring, then add the finished Kombucha tea to them. The new bottles with flavoring can be left at room temperature for another 1 to 3 days for a short, secondary round of fermentation/carbonation. This time will allow the flavors to mix and also add a bit more carbonation to the Kombucha. It is a good idea to check on the flavored Kombucha bottles every day during the 1 to 3 day period, by 'burping' the bottles once a day. Some flavors will take only 1 day to achieve the best carbonation level, while others may take 3. It also depends on how carbonated you prefer your Kombucha to be. Make sure that during these 1 to 3 days, you keep your Kombucha out of the refrigerator because the cold will reduce this secondary fermentation/carbonation process immensely.
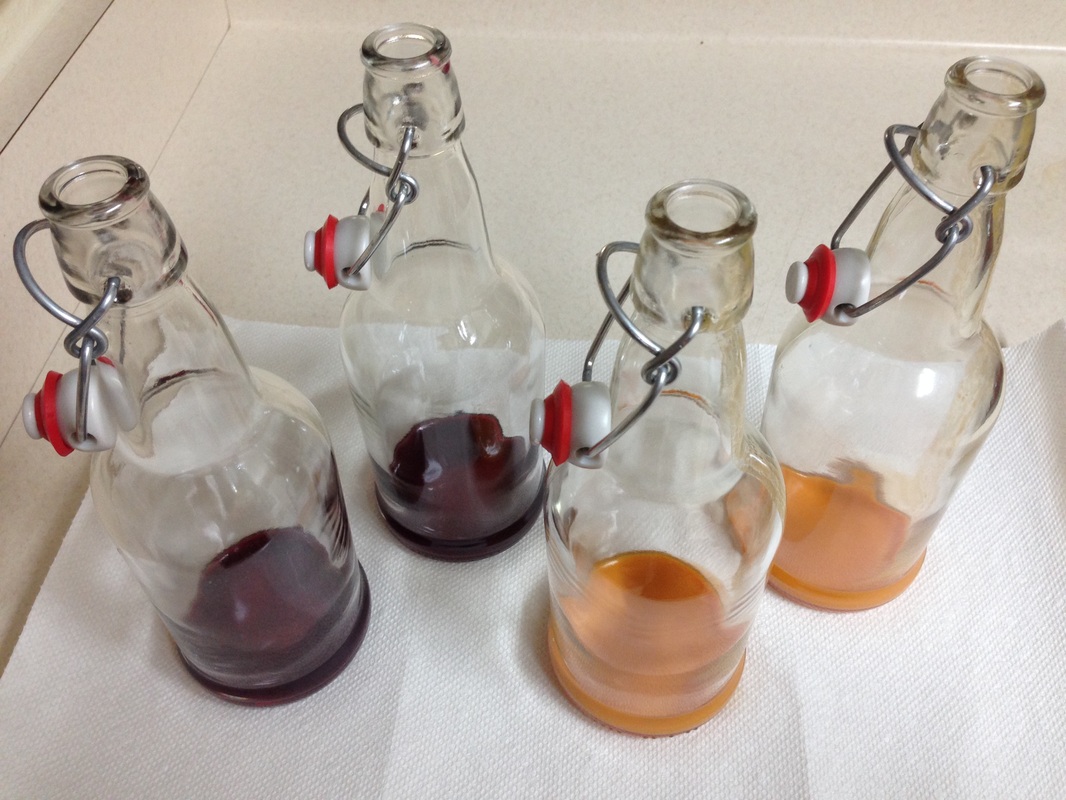 10 to 20% of flavoring is all you need if you choose to flavor your Kombucha. The trick is to enhance the distinct, effervescent taste, not mask it. | 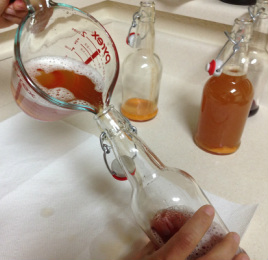 Notice the angle that I am pouring the finished Kombucha tea at, this helps to not make to Kombucha too carbonated. |
Step 3 You're almost there!
Once your plain or flavored Kombucha is ready to drink, simply make sure the lids are tight on the bottles and store in the refrigerator for 2 weeks, up to a month. Kombucha is at it's best for the first two weeks because even at cold refrigeration temperatures, 'floaties' can slowly start to form in the bottles over time. Luckily, these are not at all harmful and do not taste like anything, but some people find them off putting. If the thought of 'floaties' seems icky to you, simply strain the finished Kombucha into a glass before drinking it.
How much to drink per day:
It is recommended that a person drink between 4 oz to 16 oz per day, starting with 4 oz and increasing the amount over time, if desired. However, it totally depends on your preference. For example, even with my long term love affair with Kombucha, I still feel like 4 oz a day is the perfect amount for me, while I have close friends who drink 16 oz a day and that works great for them. You'll know what is right for you, just start small.
1 Gallon Makes about Six 16 oz bottles Kombucha Tea
NEXT UP: MAKING A SCOBY HOTEL
 RSS Feed
